
Blog / Kitchen
How to Fix a Leaking Kitchen Sink Waste Strainer: Step-by-Step Guide
September 24, 2026
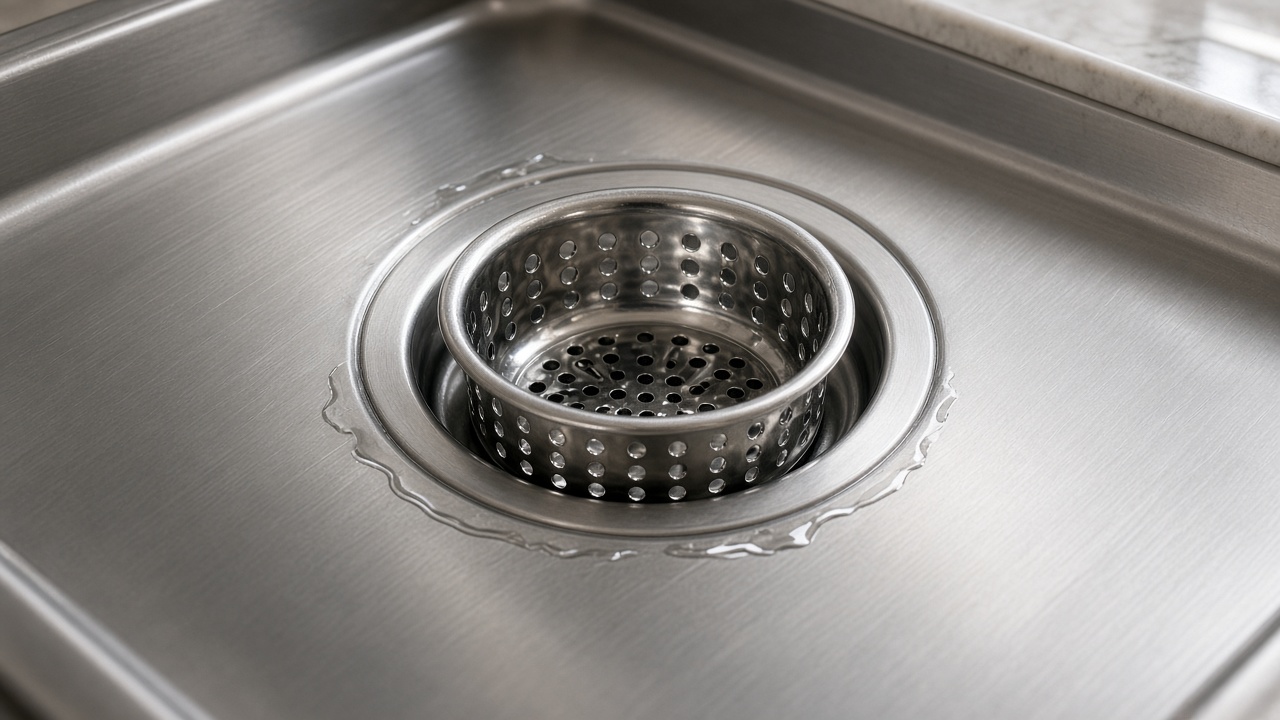
A leaking kitchen sink waste strainer is one of the most frequent plumbing issues in residential properties. Water pooling inside an under-sink cabinet often stems from degraded rubber seals, cross-threaded plastic fittings, or accumulated debris around the overflow joint. Left unaddressed, even a minor waste leak can cause cabinet warping, mold growth, and structural water damage to subflooring.
Replacing a basket strainer assembly is a straightforward repair that requires basic hand tools and minimal plumbing experience. This guide covers everything required to inspect, dismantle, and install a replacement waste strainer kit properly.
If the cabinet is already wet and you would rather have it done for you, a Toronto plumber can replace the strainer and check the trap in one visit. Contact Badger Plumbing to book it.
Required Tools and Materials
Before beginning the repair, gather the following tools and replacement parts:
- Replacement basket strainer waste kit (includes basket, strainer body, rubber gaskets, and overflow attachment)
- Adjustable spanner or water pump pliers
- Flathead and Phillips head screwdrivers
- Bucket and old towels (for catching trapped water)
- Hacksaw or pipe cutter (if adjusting overflow pipe length)
- Non-setting plumber's putty or silicone sealant (if recommended by sink manufacturer)
- Scraper or Scotch-Brite pad (for clearing old sealant)
Safety Warnings and Preparation
- Isolate water supply taps: Turn off the hot and cold isolation valves under the sink to prevent accidental water flow while working.
- Protect your skin and eyes: Wear safety glasses and protective gloves. Waste pipes accumulate stagnant water, bacteria, and sharp metal edges along the sink cutout.
- Clear the workspace: Remove all cleaning supplies and stored items under the cabinet to allow unimpeded access to the trap and drain lines.
Step-by-Step Replacement Procedure
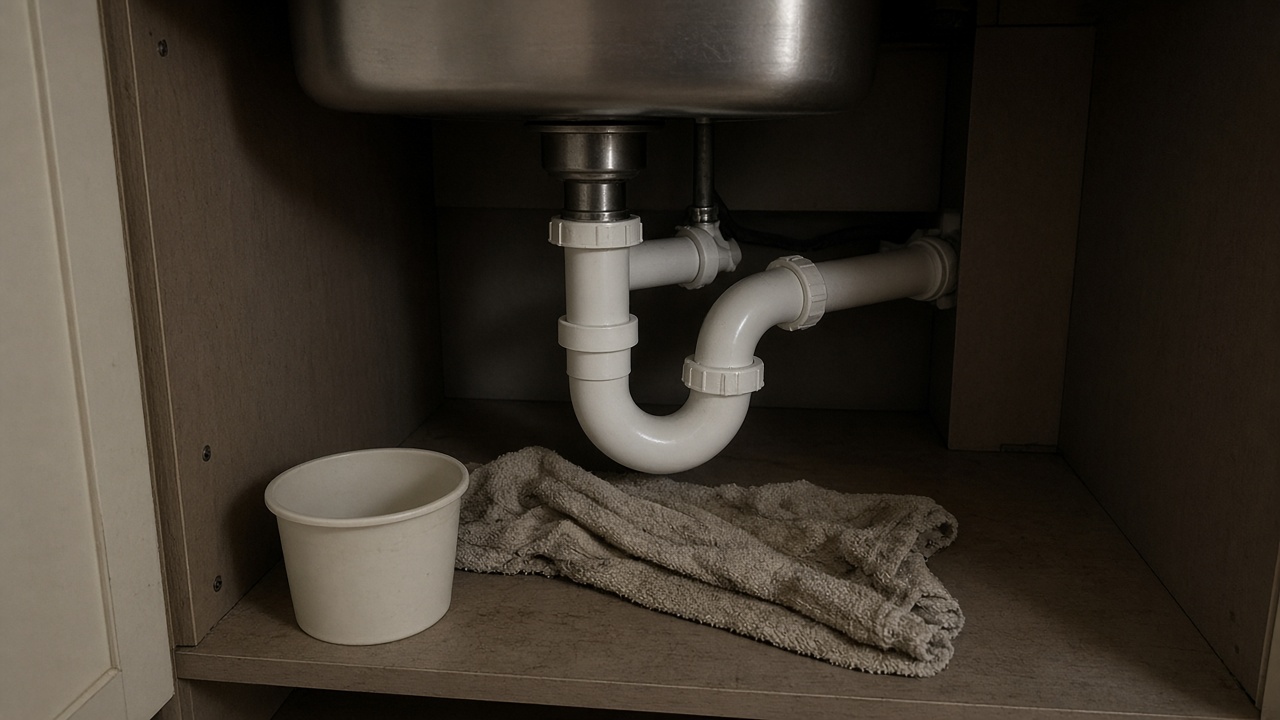
1. Position a Bucket and Disconnect the Trap
Prevent water spillages inside the cabinet.
Place a bucket directly under the P-trap or U-bend assembly. Unscrew the plastic slip nuts connecting the trap to the bottom of the sink strainer tailpiece. Allow any standing water inside the trap to drain completely into the bucket.
2. Remove the Old Waste Assembly
Unscrew central fittings without damaging the basin.
Locate the central securing bolt inside the sink bowl. Use a flathead screwdriver or coin key to unscrew it. From under the sink, detach the overflow pipe connection. Lift the upper strainer flange out from inside the sink bowl and pull the lower housing body away from underneath.
3. Clean the Sink Drain Cutout
Create a smooth, watertight surface for the new seal.
Scrape away old plumber's putty, silicone, or hardened grime from both top and bottom edges of the sink drain hole. Clean the stainless steel or composite rim thoroughly with a Scotch-Brite pad. A clean surface is necessary for the new rubber gasket to seal against water leaks.
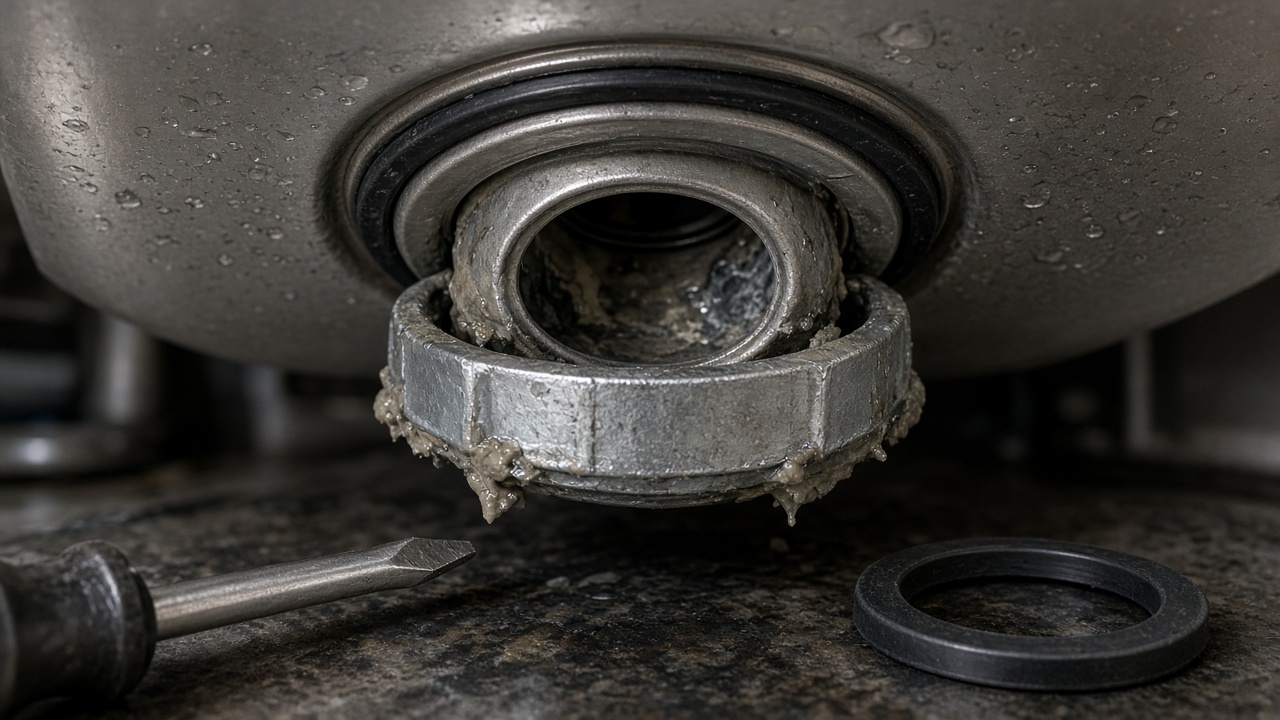
4. Install the New Strainer Unit
Apply sealing gaskets and tighten the central bolt.
Position the upper strainer bowl into the drain opening from above. Place the main rubber sealing washer onto the lower housing unit underneath the sink. Align the lower housing against the underside of the drain hole, then insert the central securing bolt through the top bowl. Tighten the bolt firmly with a screwdriver until the rubber washer compresses evenly against the sink base.
5. Fit and Trim the Overflow Pipe
Prevent joint tension and thread slipping.
Measure the overflow tube against your sink's overflow outlet. If the tube is too long, cut it cleanly using a plastic pipe cutter or hacksaw. Connect the overflow head to the sink sidewall using its dedicated rubber seal, then thread the lower end into the strainer housing port. Ensure the pipe fits without heavy tension, which causes plastic threads to jump or strip over time.
6. Reconnect the Trap and Conduct a Leak Test
Verify seal integrity under full water flow.
Reattach the P-trap to the threaded base of the new strainer assembly. Hand-tighten the plastic nuts, giving an extra quarter turn with pliers if necessary. Turn on the kitchen tap at full flow and fill the sink basin. Release the plug and check all underlying joints for drops or moisture.
Troubleshooting and FAQs
Why does the plastic nut keep spinning without tightening?
When plastic threads on waste assemblies jump threads, it means the threads are stripped or the pipework is misaligned under tension. Once threads strip, replacing the damaged strainer body or overflow fitting is necessary. Wrapping thread tape around stripped plastic threads will not hold up long term.
Should I use plumber's putty or a rubber washer under the top flange?
Most modern basket strainer kits include a pre-molded rubber or foam gasket designed for the top flange. If your kit includes a dedicated gasket, no putty is required. If using a standard stainless steel kit without a top foam seal, a neat ring of non-setting plumber's putty under the upper flange creates a reliable seal. Check manufacturer guidelines first, as oil-based putties can stain natural stone or composite sinks.
What causes water to leak from the overflow connection?
Overflow leaks usually happen when the rubber gasket between the overflow fitting and the outer sink wall is misaligned. Ensure the gasket sits flush against the sink surface and verify that the flexible overflow tube is cut to the correct length so it does not pull the connection sideways.
If the joints still drip after a careful reinstall, stop and have it looked at before the cabinet stays wet. Request a quote and we can finish the repair.