
How to Replace a Leaking Pedestal Basin Tap
September 24, 2026
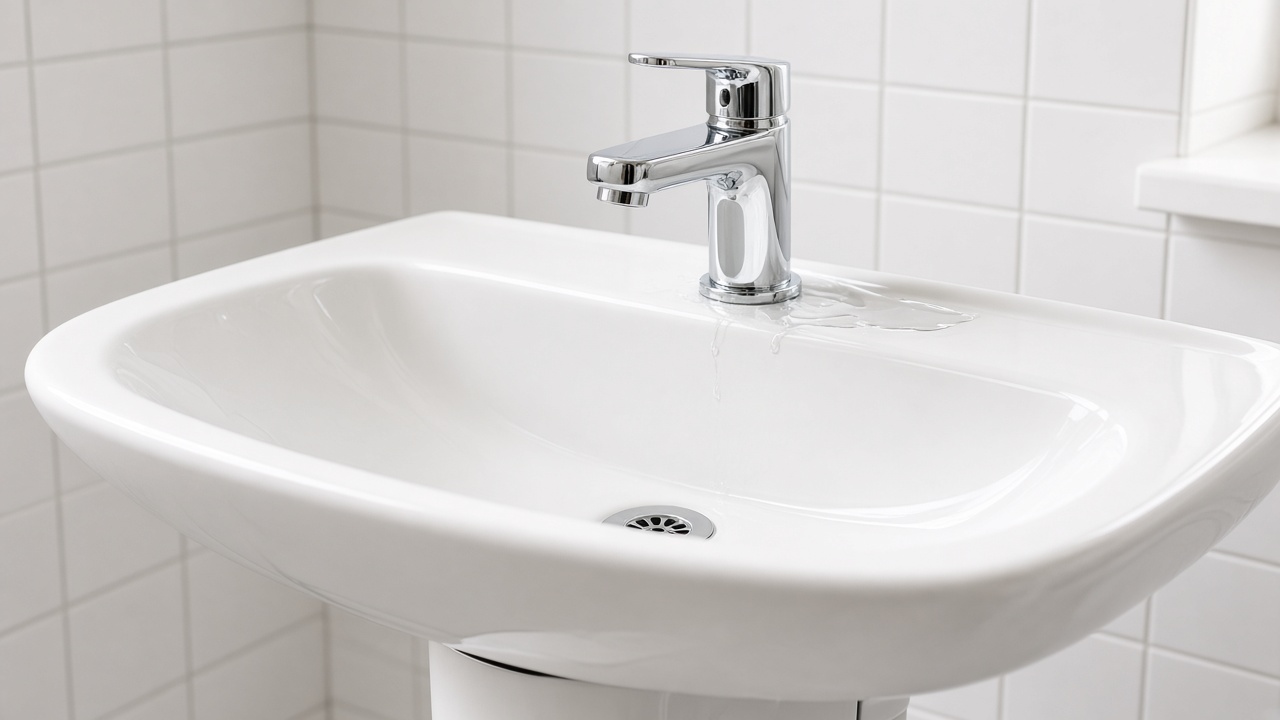
When water trickles down the back of a basin tap or pools underneath a pedestal sink, the cause is usually a failed washer inside the tap, a loose fixing nut, or corroded rigid pipework. Older sinks were often plumbed with rigid copper pipes running straight up to the tap. That pipe lasts, but it leaves almost no room to move once a leak starts, and almost no room to fit a modern tap in its place.
A new basin tap is the moment to swap those rigid pipes for flexible tap tails. The hoses bend in the tight gap behind the pedestal. If you would rather have a Toronto plumber do the swap, contact Badger Plumbing and we will book it.
What you need
- A replacement basin mixer that includes flexible tap tails
- Flat-faced isolation valves, straight or angled to match the pipes
- An adjustable spanner and water pump pliers
- A pipe slice or hacksaw, if the old copper has to be cut
- Thread locker, for a mounting stud that keeps spinning
- A bucket and old towels
Before you start
Use flat-faced valves
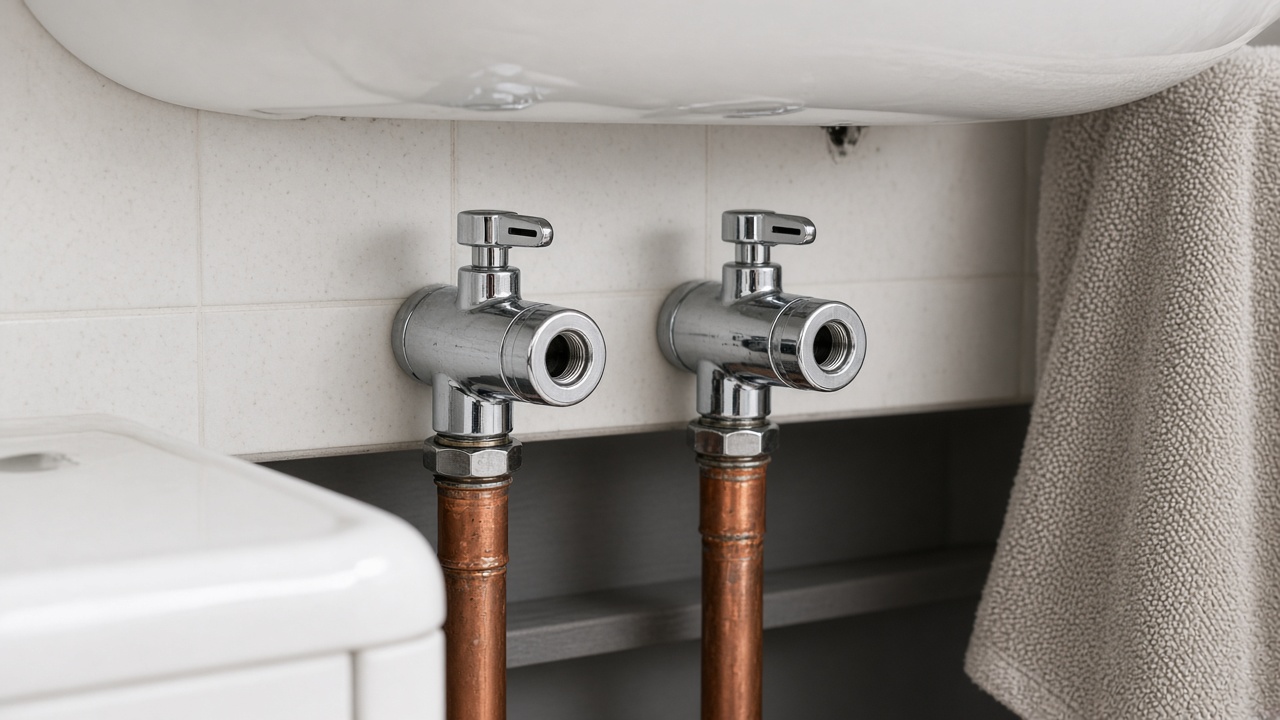
A female flexible tail has a flat rubber washer inside the nut. That washer needs an isolation valve with a flat face. Connecting the hose to an ordinary compression fitting is a common mistake. The sharp edge of the olive cuts into the rubber, and the joint starts a slow leak.
Use a horseshoe fixing plate
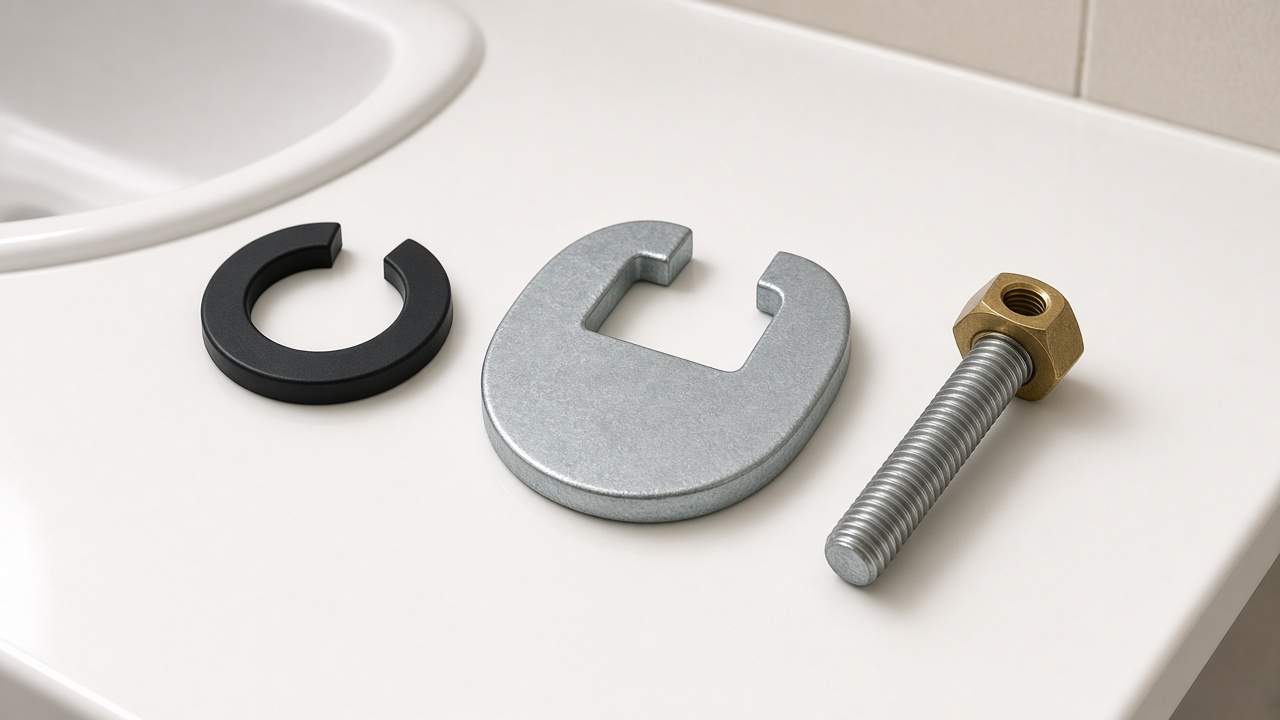
Many new basin taps come with a horseshoe plate and a matching rubber washer. The open side lets you tilt the plate and slide it around the stud and the hoses from underneath. You do not have to thread a solid ring all the way up the hoses in the dark space behind the pedestal.
Put thread locker on a spinning stud
The threaded mounting bar sometimes will not stop turning when you try to screw it into the tap body. A drop of thread locker on the top threads holds the stud in the tap, so the nut underneath can actually tighten.
1. Isolate the water and remove the old tap
Turn off the hot and cold supplies to the basin. Open the old tap and let the pipes drain into the bucket. Undo the nuts that join the supplies to the tap, then unscrew the holding nut under the basin. Lift the old tap out of the hole.
2. Cut the copper and fit isolation valves
If rigid copper still runs all the way up to where the tap was, cut it lower down with a pipe slice. Clean the cut ends. Fit the flat-faced isolation valves onto the copper and tighten the compression nuts with grips and a spanner.
3. Prepare the new tap
Screw the flexible tails into the base of the new tap by hand only. Forcing them with a spanner can damage the O-rings. Then screw the mounting stud into the base. Use thread locker if the stud will not grip.
4. Mount the tap on the basin
Feed the tails through the hole. From underneath, slide the rubber horseshoe washer on first, then the metal horseshoe plate, around the stud. Thread the nut on and tighten it until the tap sits firm and does not twist on the ceramic.
5. Connect the hoses and set the flow
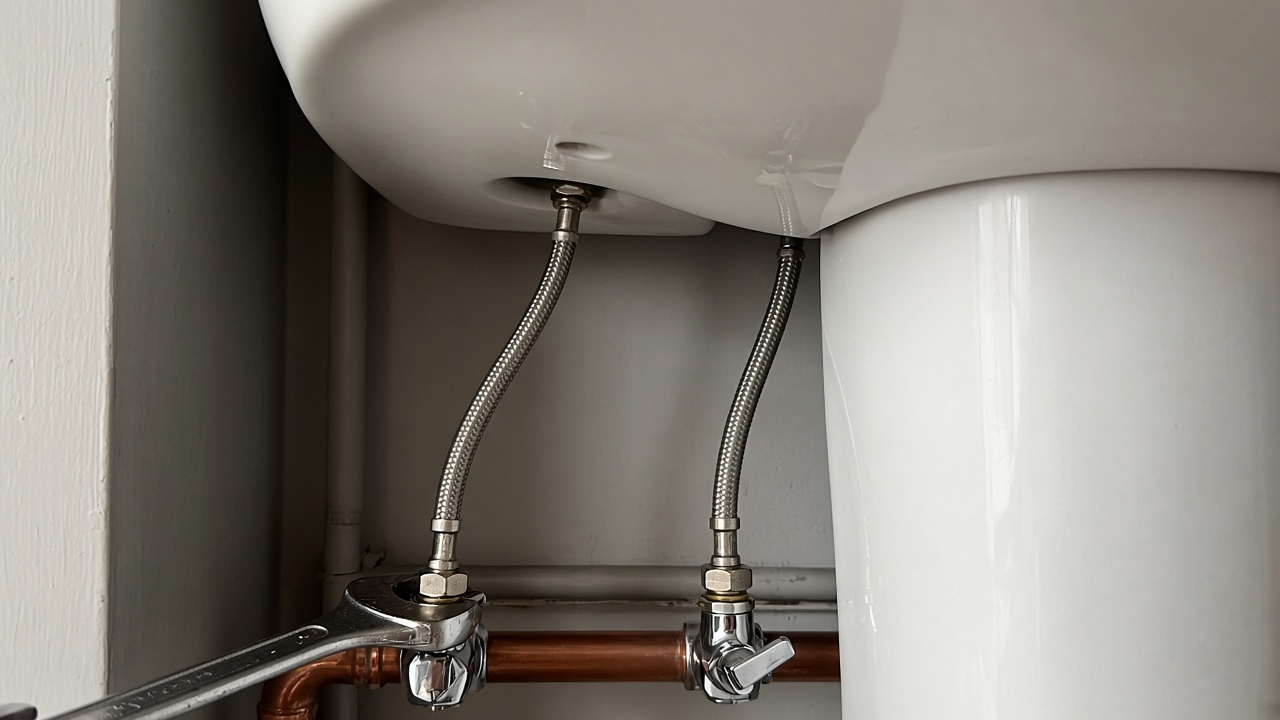
Connect each female tail to its flat-faced valve. Tighten with a spanner, and stop before the rubber washer is crushed. Turn the water back on and look for drips. Open the tap fully, then ease the isolation valves down a little so a full-open tap does not throw water out of the basin.
If water still appears at the back of the tap or under the pedestal after the joints are dry, stop and have the supplies checked.